How to Add a User in WordPress and Pick the Right Role
Give your web designer their own WordPress login instead of yours. This guide shows you how to add a user in WordPress, pick the right role, and remove the access when the job ends.
Step-by-step guide · about 5 minutes · checked October 13, 2026
Step by step
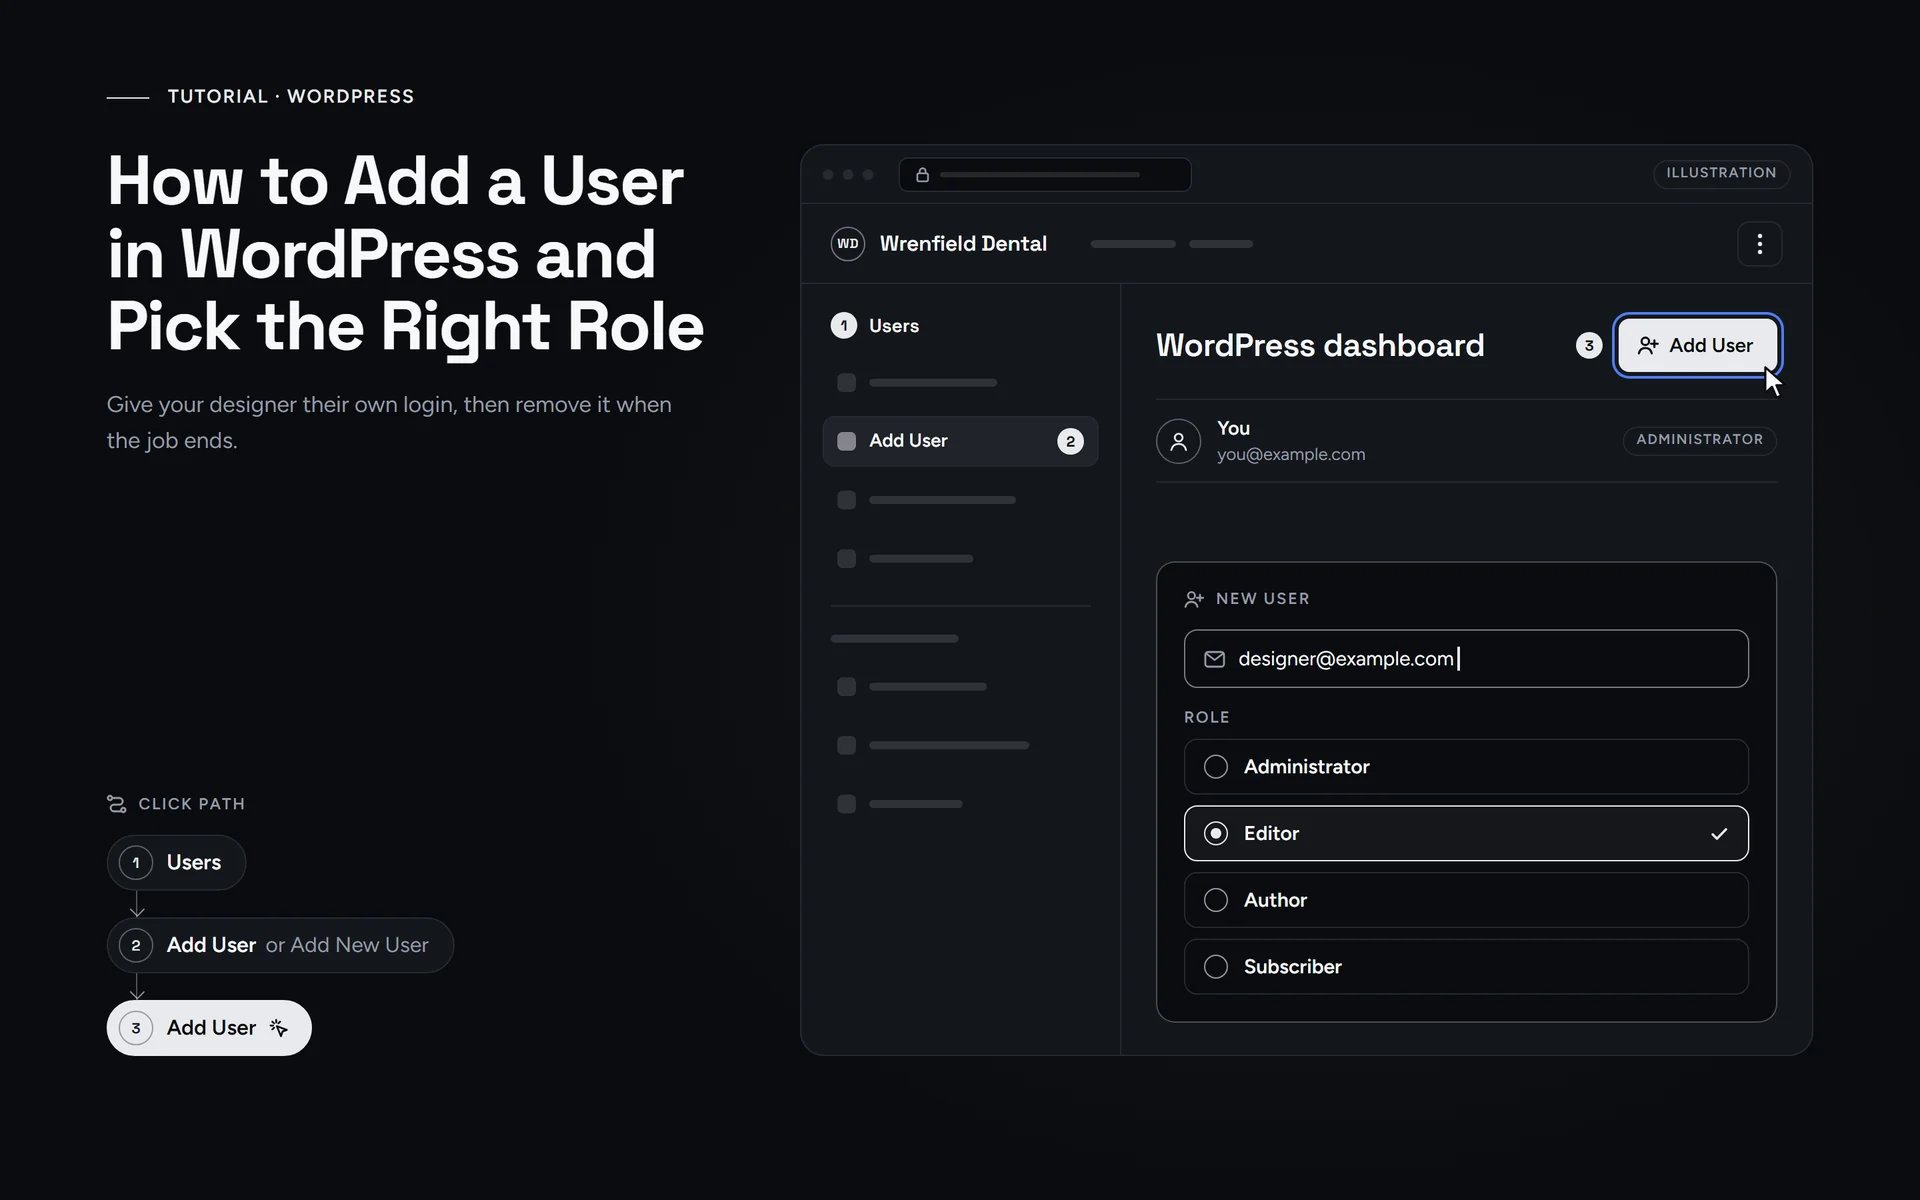
Short answer: To add a user in WordPress, log in as an Administrator and go to Users > Add User. Enter a username and the person’s own email, choose a role, keep the notification email checked, and click Add User. They then set their own password from that email. Never share your own login.
What do you need before you add a user?
Before you add a user in WordPress, check three things. First, you need your own account with the Administrator role, because only Administrators can create users on a normal site. Second, ask the other person for their own work email. WordPress needs a unique email for every user, so the address can’t already have an account on your site.
- Your own login at yoursite.com/wp-admin, with the Administrator role.
- The person’s own email address, not an inbox you share with them.
- A clear idea of the job, for example a full redesign or only text updates.
Finally, decide on the role before you start, because it sets what the person can change. Are you still choosing someone? Then read how to choose a web design agency first.
How do you add a user in WordPress, step by step?
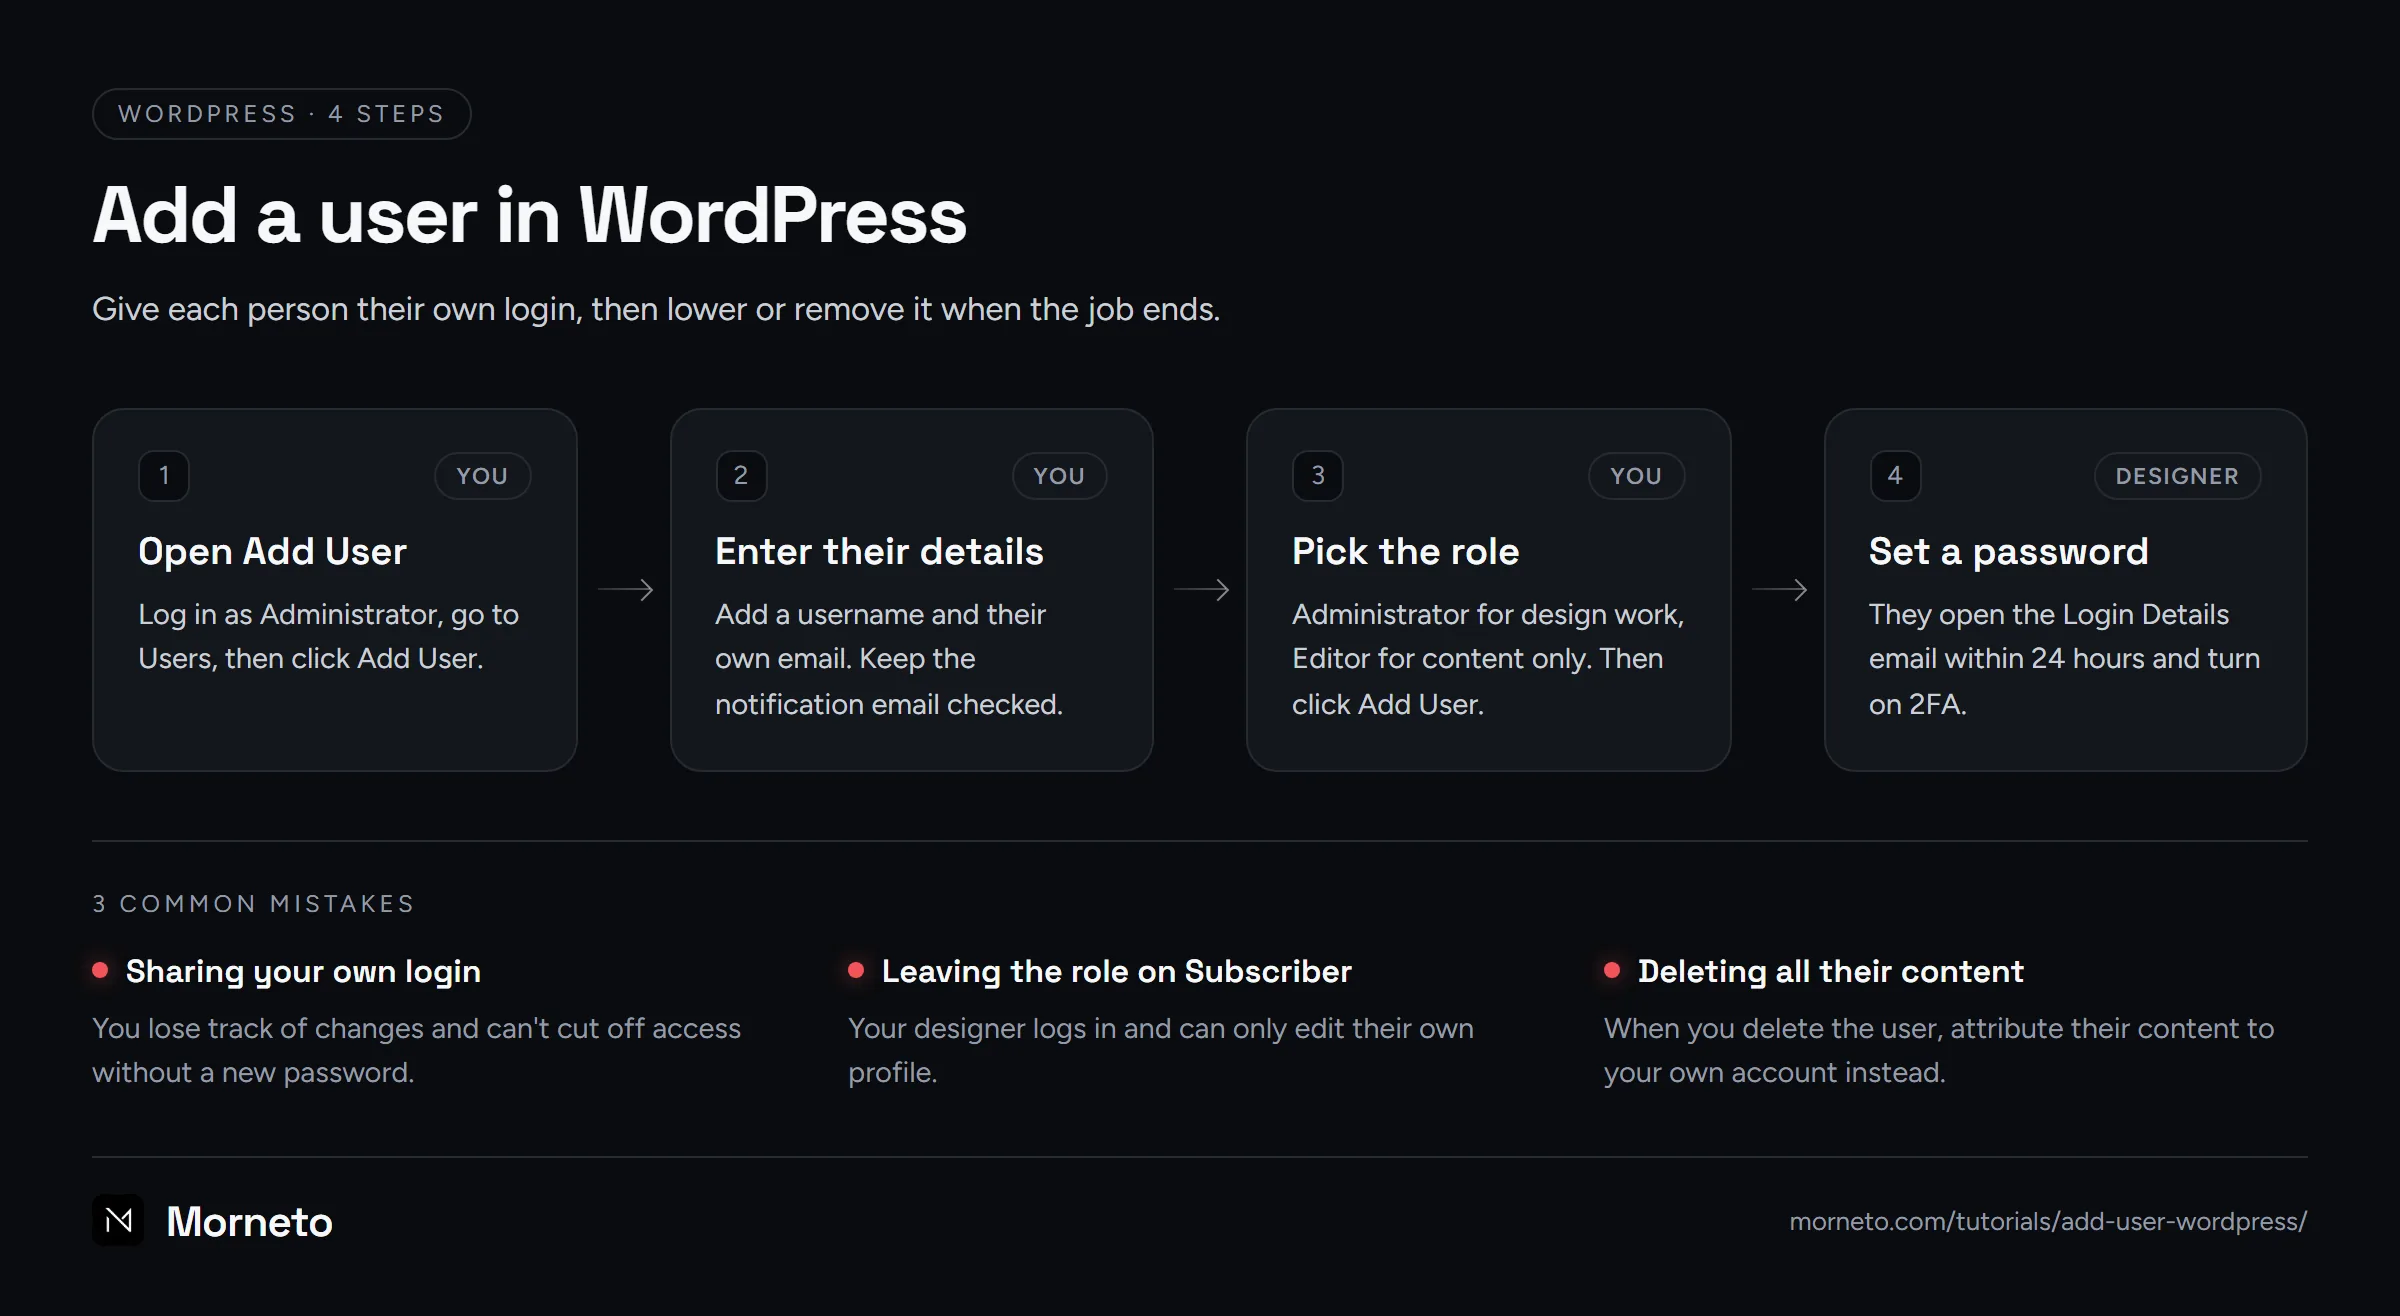
- Log in to your dashboard at yoursite.com/wp-admin with your own Administrator account.
- In the left menu, go to “Users” and click “Add User”. On WordPress 6.7 and older, the menu shows “Add New User” or “Add New” instead. You can also open the “+ New” menu in the top toolbar and choose “User”.
- Enter a “Username” and the person’s own address in “Email”. You must fill in both, while “First Name”, “Last Name” and “Website” are optional.
- Leave the “Password” field as it is. WordPress fills in a strong password, and the new user picks their own later.
- Under “Send User Notification”, keep “Send the new user an email about their account” checked.
- Under “Role”, choose the role that fits the job. The list starts on your site’s default role, which is often Subscriber.
- Click the “Add User” button at the bottom. WordPress then opens “Users” > “All Users” and shows “New user created.” at the top, with the person in the list.
Pick the username with care, because WordPress doesn’t let you change it later. A plain name works well, for example the person’s first name plus their company. Also, if the email address already belongs to another account, WordPress stops and shows an error.
Which user role should you choose in WordPress?
A role decides what someone can change on your site. Every time you add a user in WordPress, give them the smallest role that still fits the job. That way, a lost password or a simple mistake can do less damage. The table below follows the official roles guide on WordPress.org.
| Role | What they can do | Good for |
|---|---|---|
| Administrator | Everything on a single site, including plugins, themes, settings and other users. | You, and a designer who builds or repairs the site. |
| Editor | Publish and manage all pages and posts, including other people’s. Also moderate comments and upload files. | Someone who edits content but not the design. |
| Author | Publish and manage their own posts. | A regular blog writer. |
| Contributor | Write and manage their own posts, but not publish them. | A guest writer whose posts you review first. |
| Subscriber | Manage their own profile only. | Readers or members, not a designer. |
So which role does a web designer need? For real design or development work, the answer is usually Administrator. Only Administrators can install plugins, change the theme and edit site settings. However, Editor is enough for someone who only updates text, pages and images. When we build or rebuild a site through our web design and build service, we ask for our own account instead of your password. You own the site, the domain and your data.
You may also see Super Admin in some guides. That role only exists on WordPress Multisite networks, so on a normal site, Administrator is the top role.
What does the new person have to do?
On a normal WordPress site, there is no invite to accept. The account works right away. Meanwhile, WordPress emails the person a message with the subject “[Your site name] Login Details” and a link to set their own password.
- Open the email and click the link. By default, it stays valid for 24 hours.
- Choose a long, unique password, ideally from a password manager.
- Log in at yoursite.com/wp-admin with the new username.
- Turn on two-factor authentication for the account.
WordPress core has no built-in two-factor authentication, so you need a plugin for it. One free option is the Two Factor plugin from the WordPress.org directory. Once it is active, each person sets it up under “Users” > “Profile”, in the “Two-Factor Options” section. People who are not Administrators just see “Profile” in the left menu. For example, they can link an authenticator app and save backup codes. In fact, WordPress’s own security guide advises two-factor authentication for every Administrator.
Did the email not arrive? First, ask them to check their spam folder. If it is still missing, or the link has expired, go to “Users” > “All Users”, hover over their name and click “Send password reset”. They can also click “Lost your password?” on the login page.
How do you remove a WordPress user later?
When the job ends, lower or remove the access the same day. You can always add the person again later.
- Go to “Users” > “All Users”.
- To lower the access, check the box next to their name. Then pick a role under “Change role to…” and click “Change”.
- To remove the account, hover over their name and click “Delete”.
- If they wrote any pages or posts, WordPress asks what to do with that content. Choose “Attribute all content to another user.”, then pick your own account in the “Select a user” list. On WordPress 7.0 and older, that option says “Attribute all content to:”.
- Click “Confirm Deletion”.
Be careful with the other option, “Delete all content.”, because it also deletes every page and post that person wrote. A quick look at your user list also fits well into regular website maintenance, next to updates and backups.
Above all, keep your own Administrator account, and keep the number of Administrators low. Any Administrator can edit or delete other users, including other Administrators. So give that role only to people you trust.
What should you watch out for?
- Create a separate user instead of sharing your own login. In a shared account you can’t see who changed what, and you can’t cut off access without a new password. So Morneto asks for its own account, not your password.
- Check the role every time. When you add a user in WordPress, the role list starts on your site’s default role. On a fresh install, that is Subscriber.
- Editor is not enough for design work. Editors can’t install plugins, switch themes or change settings.
- Your screen may look different. WordPress.com, some managed hosts and Multisite networks use an invitation instead. Plugins such as WooCommerce can also add roles. Some WordPress.org help pages also show older screen labels.
Sources
Where these steps come from
Checked on October 13, 2026 against the official help pages below.
More tutorials
 Guide · 5 min
Google Business Profile
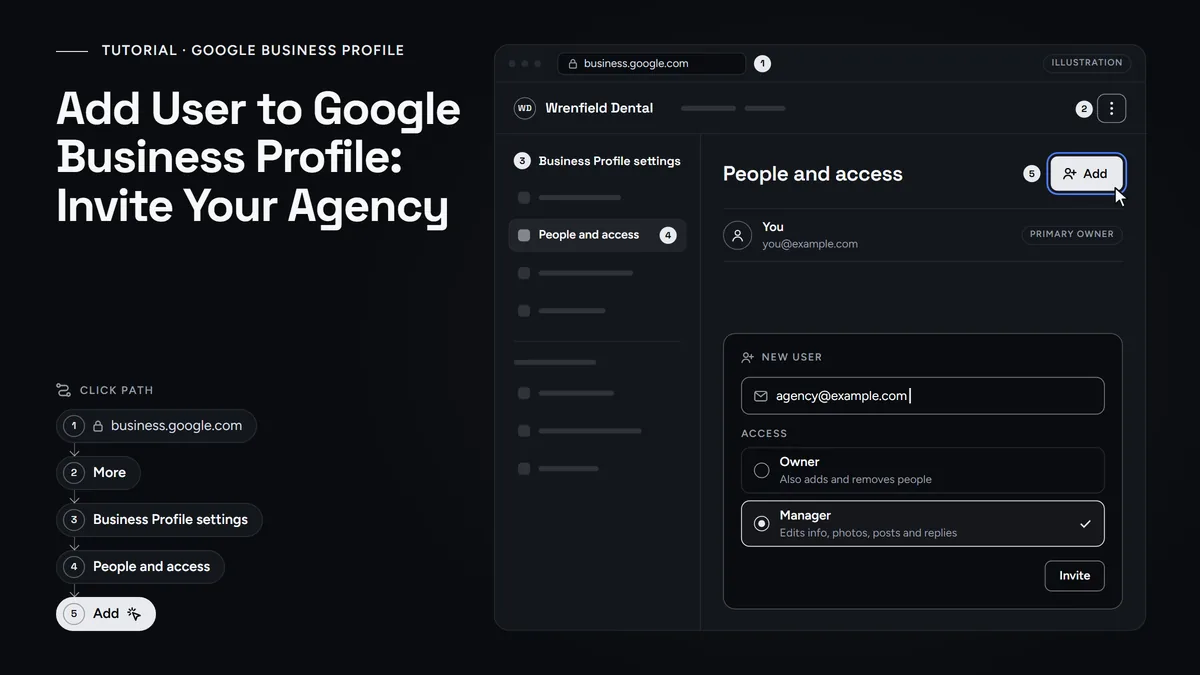
Add a user to Google Business Profile
Invite your agency or staff as a Manager, pick the right role, keep primary ownership and remove access when the work ends.
Read the guide- Guide · 6 min
Analytics
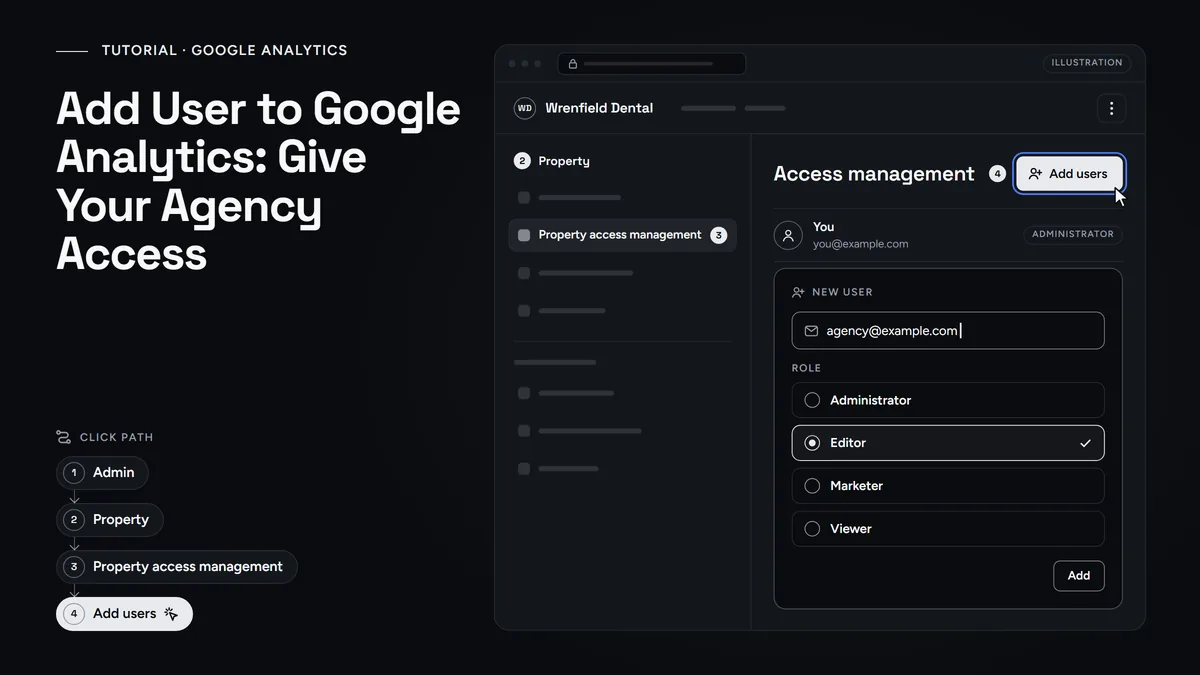
Add a user to Google Analytics
Give your agency its own GA4 login: the Admin path, which role to pick and how to remove access later. No password sharing.
Read the guide - Guide · 5 min
Analytics
How to Add a User to Google Search Console
Give your agency Full access under Settings, Users and permissions. See which level to pick, how to remove it later, and why you stay the owner.
Read the guide
Questions
Common questions
Which role should I give my web designer in WordPress?
Usually Administrator, because only Administrators can install plugins, change the theme and edit settings. If your designer only updates text and images, Editor is enough. When the work ends, lower the role or delete the account.
Can I share my own WordPress login with my designer instead?
Please don’t. With a shared login, you can’t see who changed what, and you can’t remove their access without changing your own password. Instead, create a separate account for them with their own email. Morneto never asks a client for a password.
How long does it take to add a user in WordPress?
Only a few minutes, as long as you have your Administrator login and the person’s email address. After that, the new user needs a few more minutes to set a password and turn on two-factor authentication.
What if the new WordPress user never got the setup email?
First, ask them to check their spam folder. Also keep in mind that the link expires after 24 hours by default. In that case, go to Users, then All Users, hover over their name and click Send password reset. Don’t create a second account.
Does WordPress have two-factor authentication built in?
No. WordPress core doesn’t include it, so you need a plugin. For example, the free Two Factor plugin lets each person add an authenticator app, email codes or backup codes on their own profile.
What happens to their pages and posts if I delete a WordPress user?
If the person wrote any content, WordPress asks what to do with it. Choose the option to attribute all content to another user, and pick your own account. The other option deletes everything they wrote.
Need a hand?
Rather have us check it with you?
Send us a message through the contact page and we will walk you through it on a short call. You keep ownership of every account, and we never ask for your password.